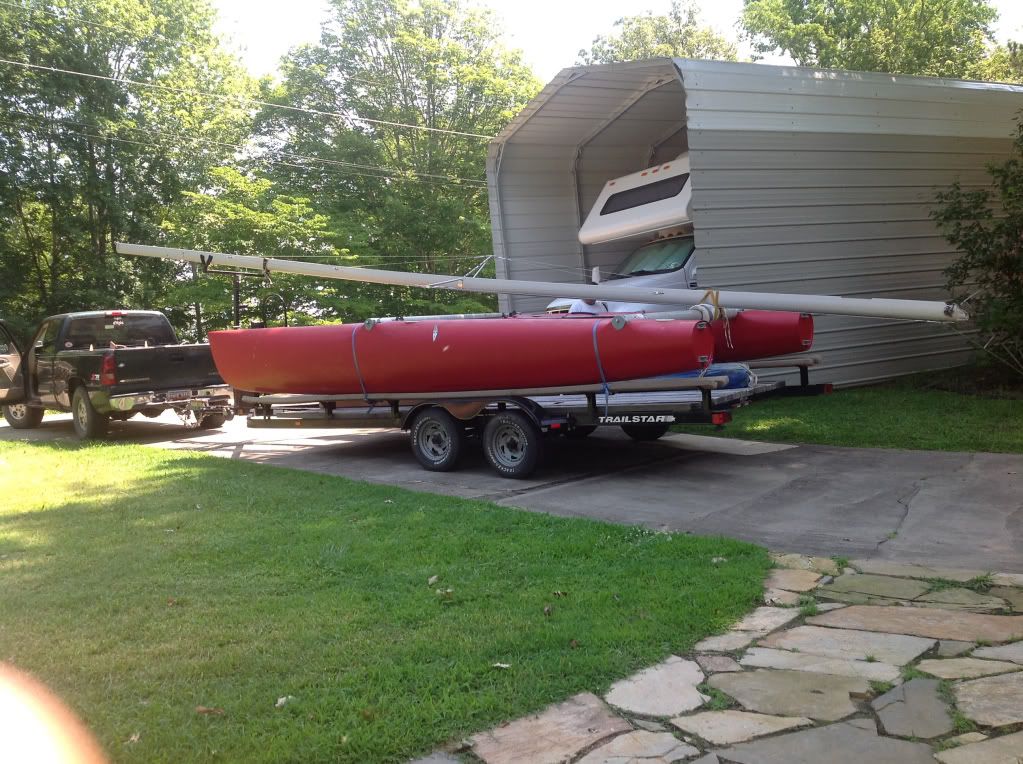
Just picked the new to me 20 up today so thought I'd start a new thread to chronicle the repairs. What I know i have to do so far. Fix the bow tangs, they were both loose. Fix damage on the stern where a limb fell on it before I got the boat. Reattach deck lids that have come loose near the daggerboards. Hopefully that is all I'm going to have to do to get it out on the water.
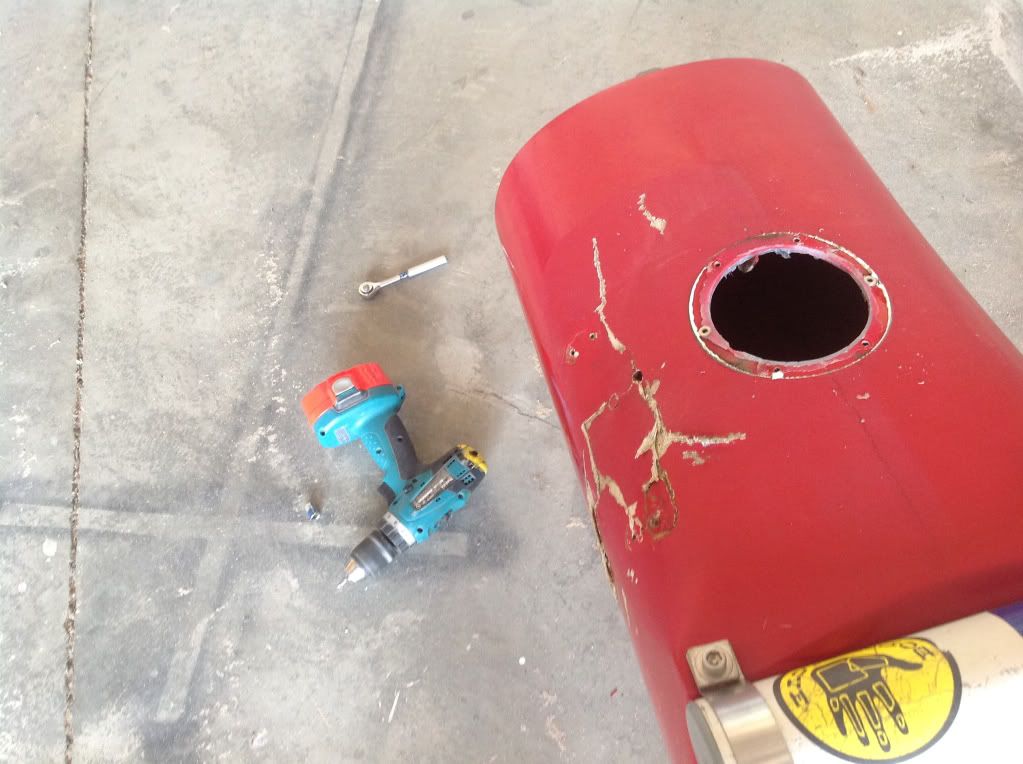
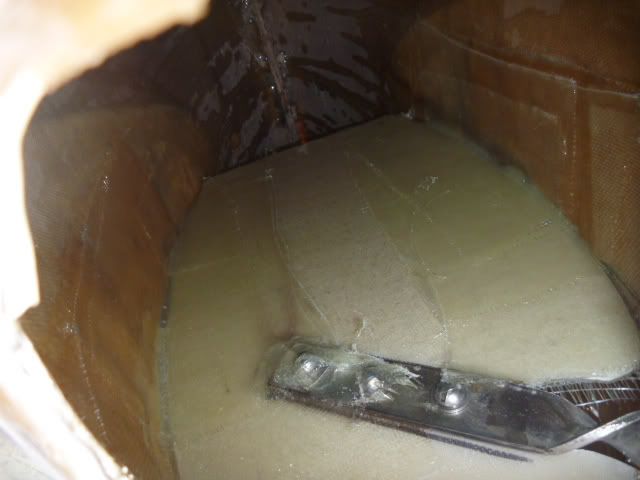
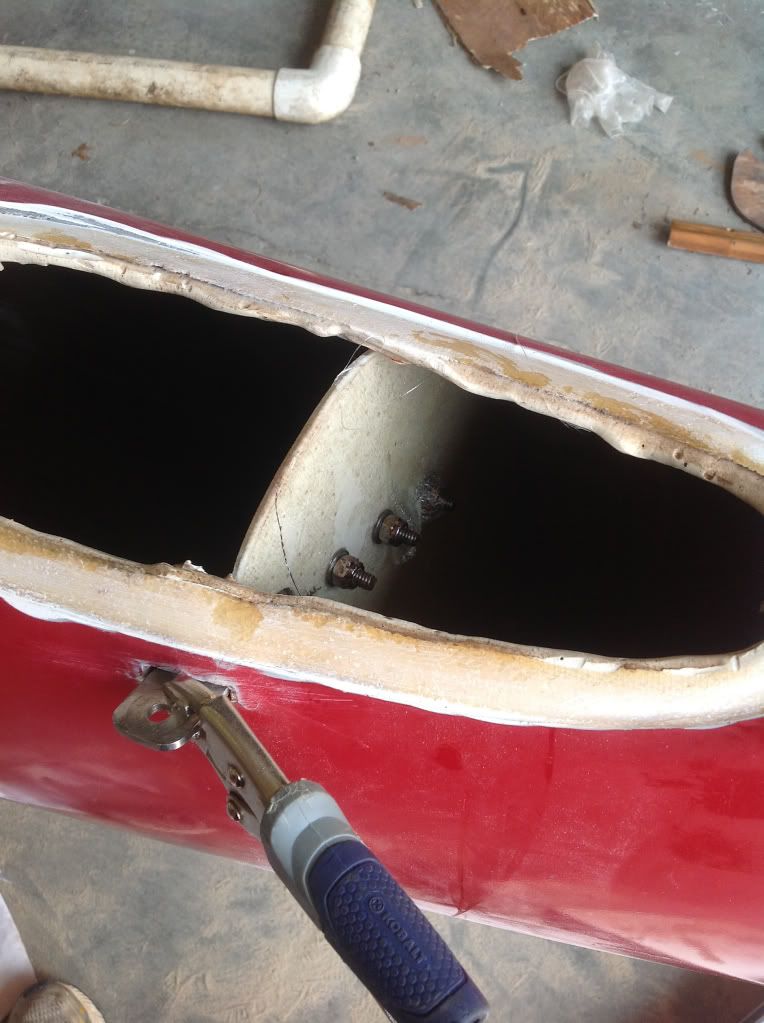
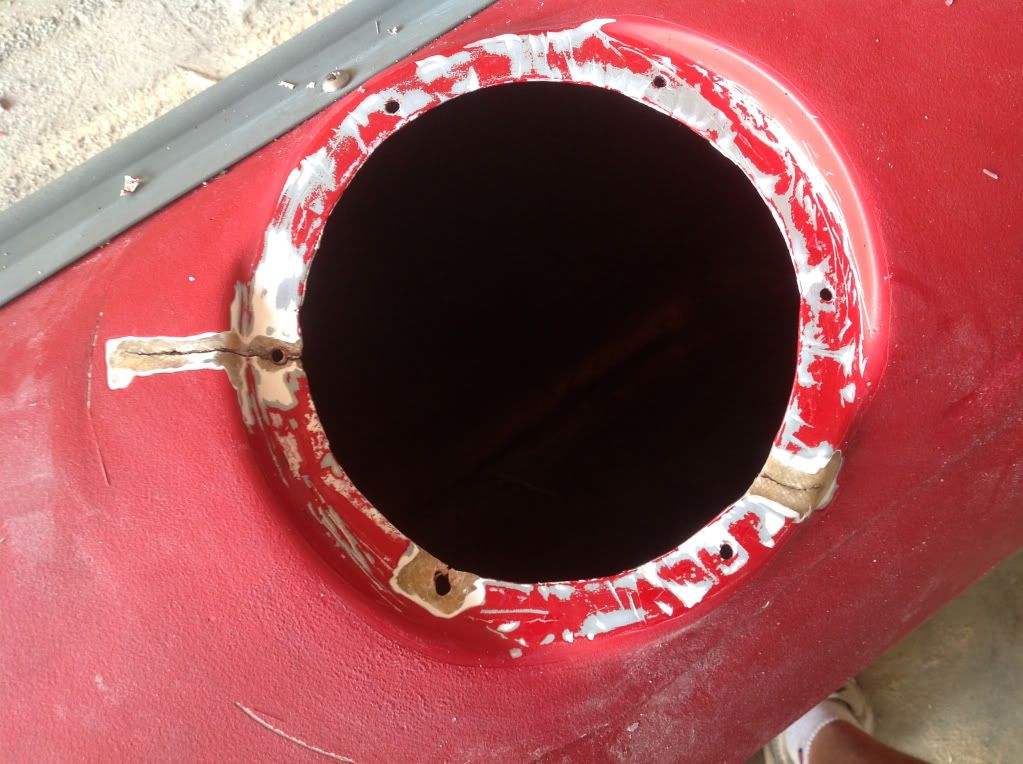
I've already ordered new forward bulkheads and covers from Aquarius, should be here in a week or so. I went ahead and cut the access covers on the boat out today to see what was going on in there. I expected to find totally rotted out wood but instead it appears that the bulkheads had just come loose from the hulls. The holes for the tangs were a little enlarged. Hopefully I didn't cut too close to the edge so I can easily attach the new covers when they come in.
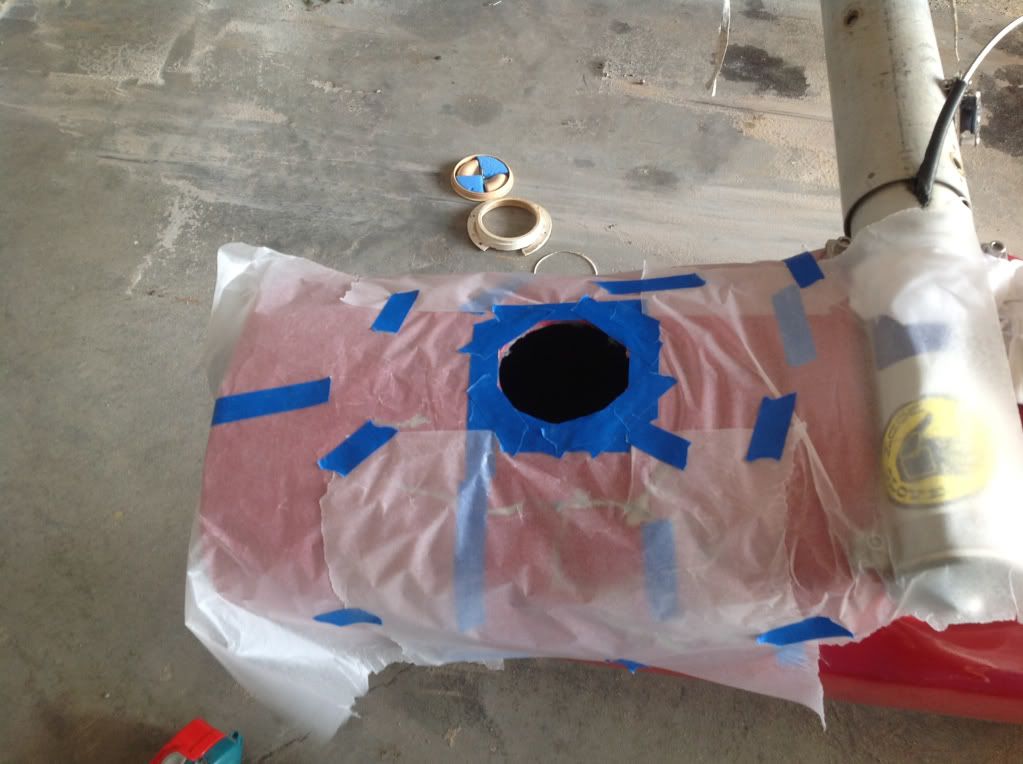
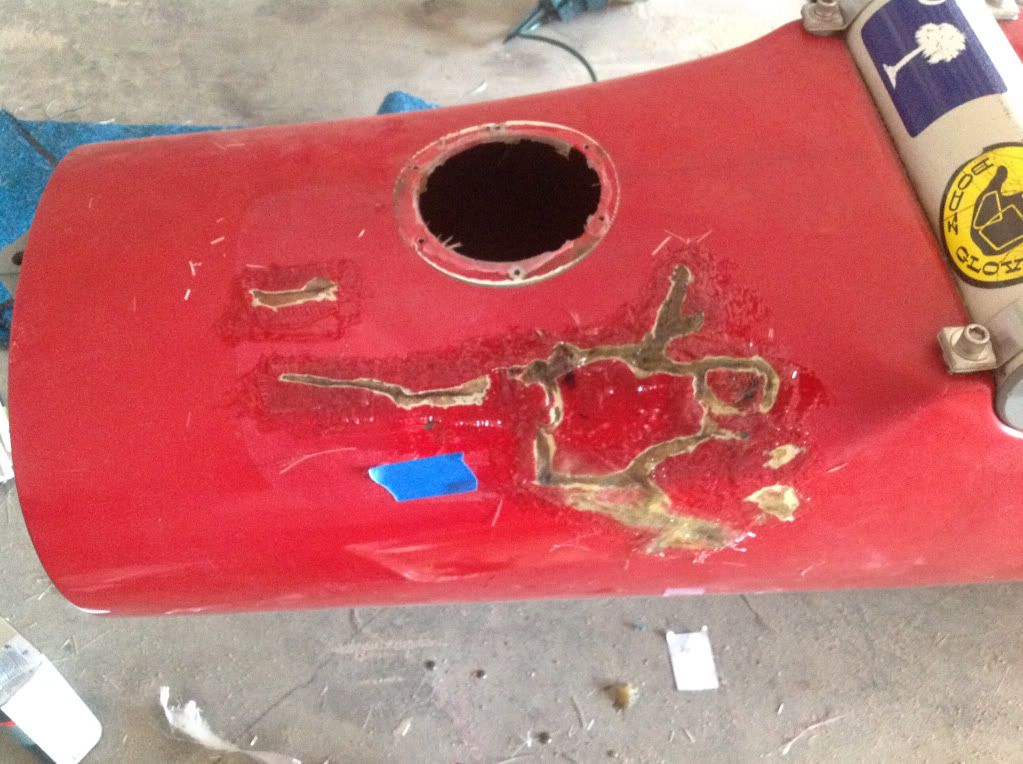
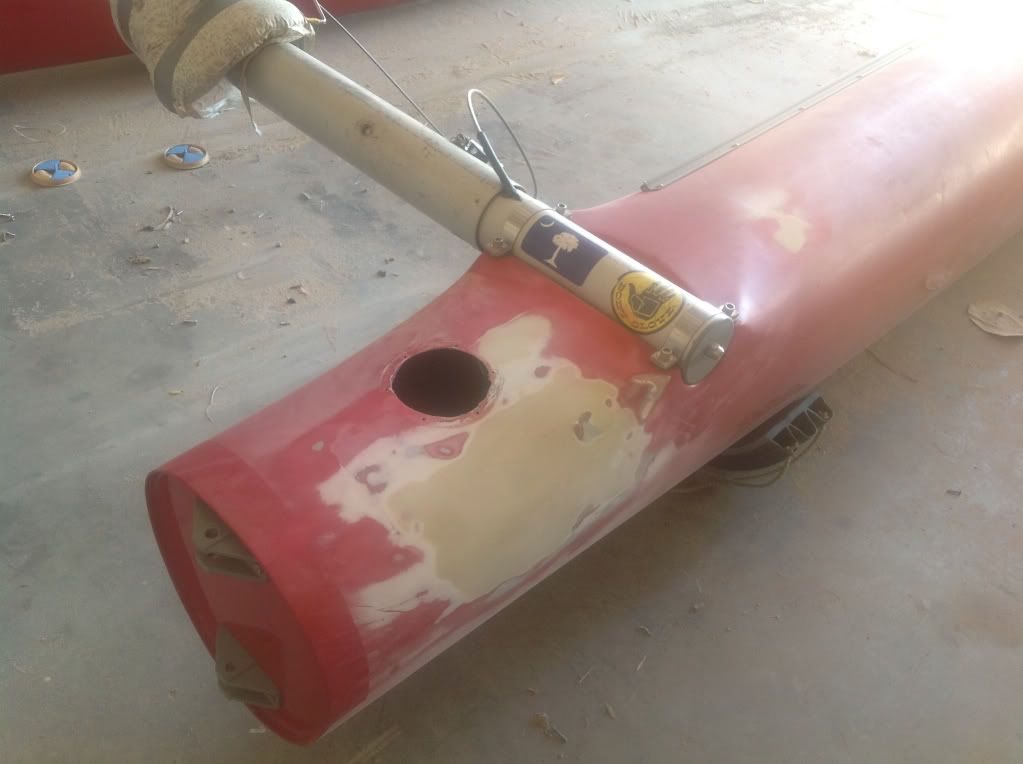
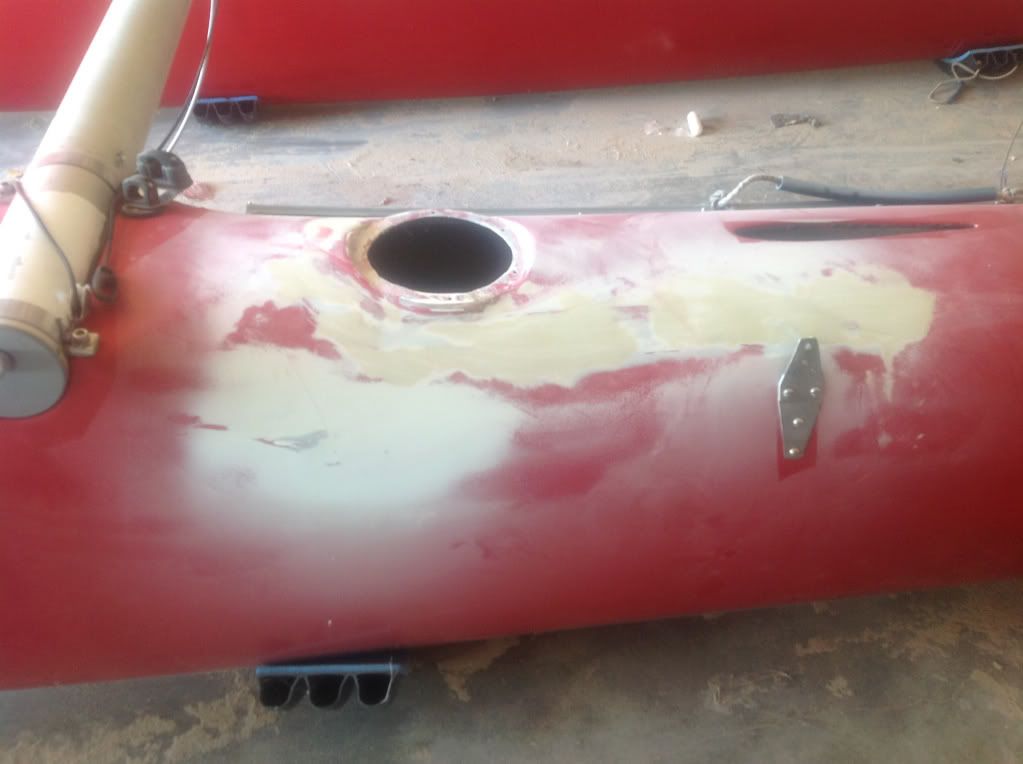
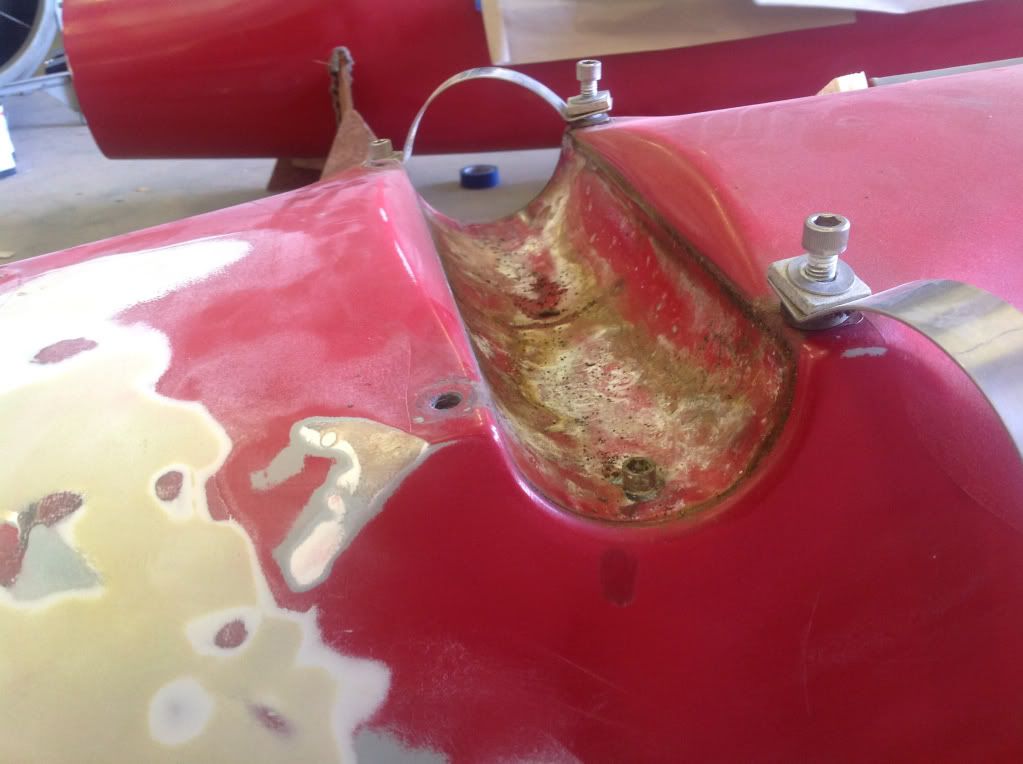
The next thing I did today was start removing some of the broken ports and began getting the broken glass on the stern back to its original shape. I hope to start reinforcing this from the back tomorrow with fiberglass matting. after I get the back side strong I plan on repairing the cracks on the outside and then fairing. I haven't done a whole lot of glass work so advice is welcome!
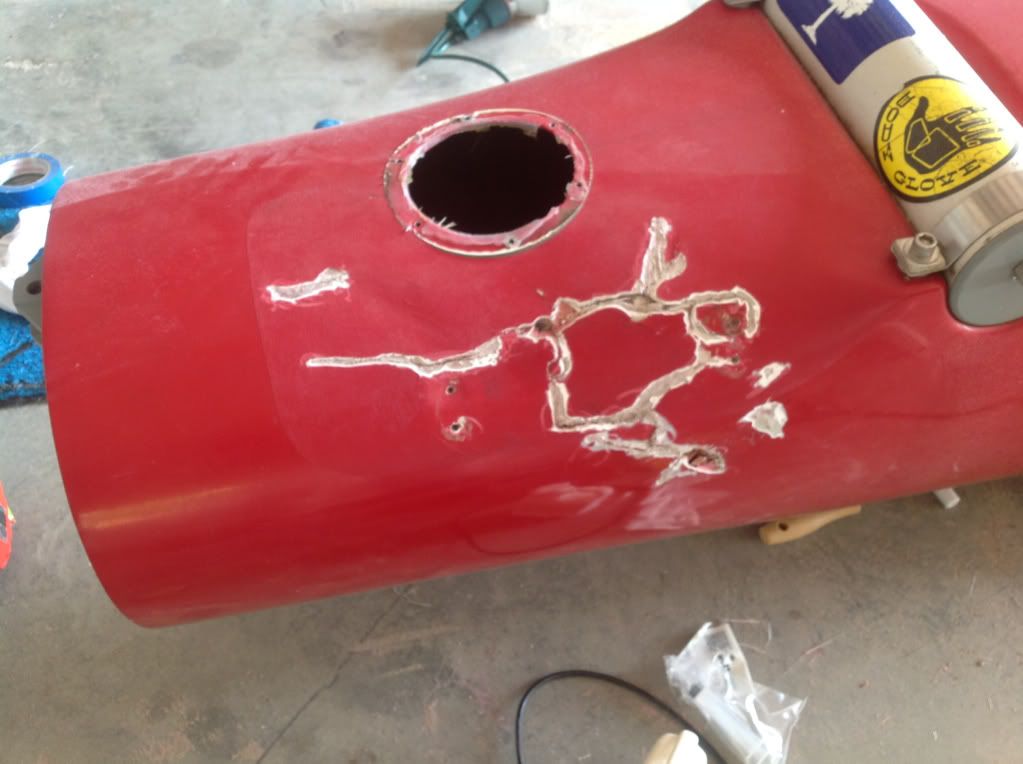
Got the back side of the stern damage reinforced the other day, seems to be quite strong. I masked the outside of the hull with wax paper to keep things as neat as possile. I put a good bit of fiberglass matting in there for strength. I came back today and did some grinding with a Dremel tool around the edges of the broken glass and then built up glass in the damage. It's a little messy looking right now but will hopefully sand down and look ok when I come back with bondo and fair it all in.
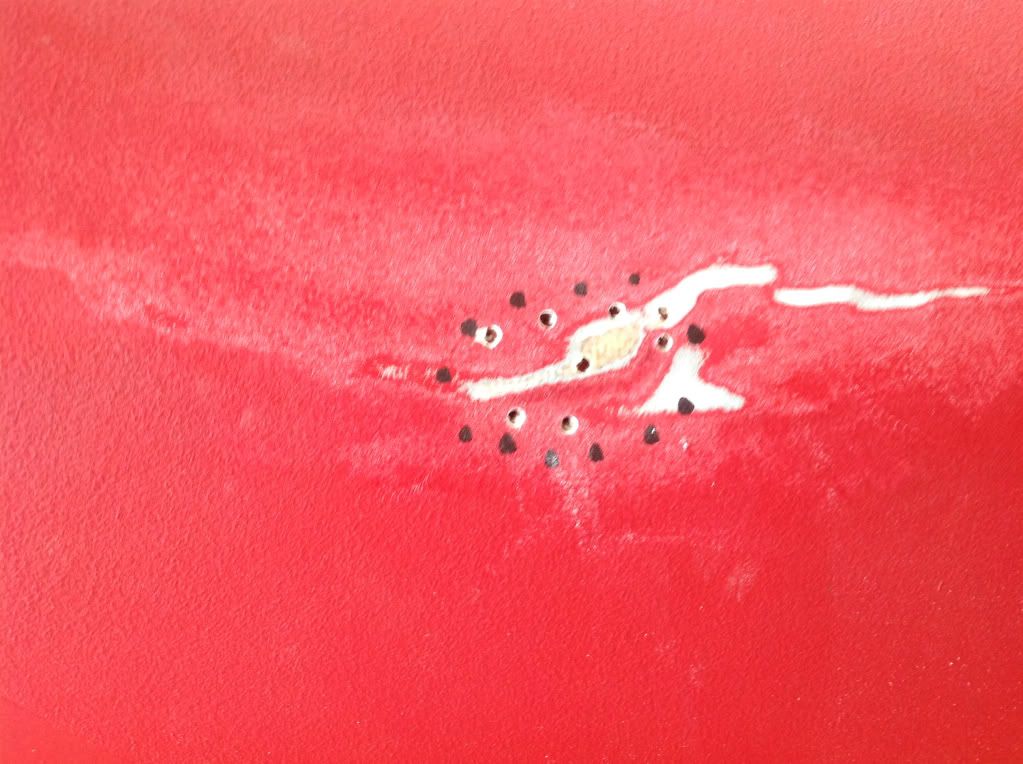
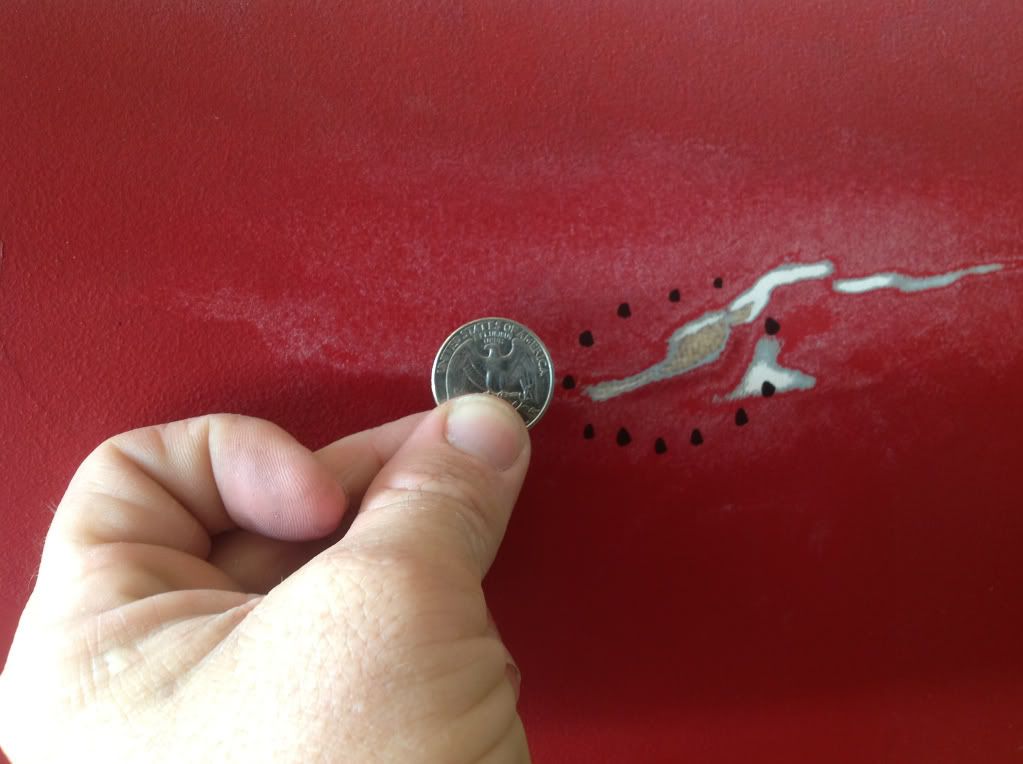
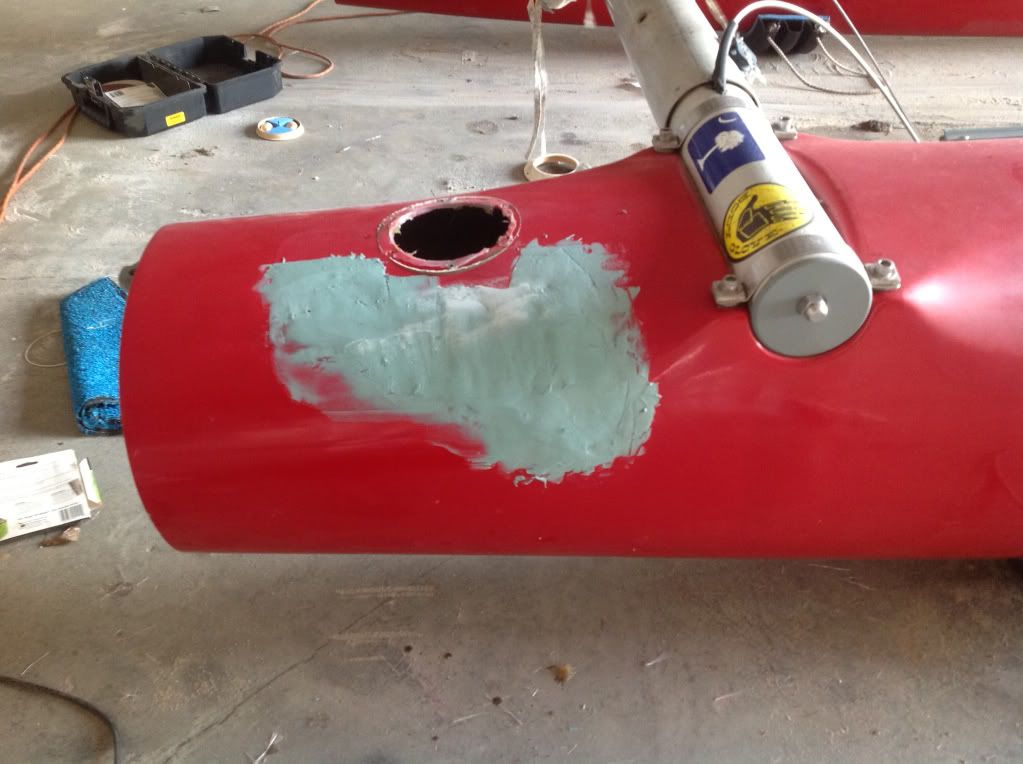
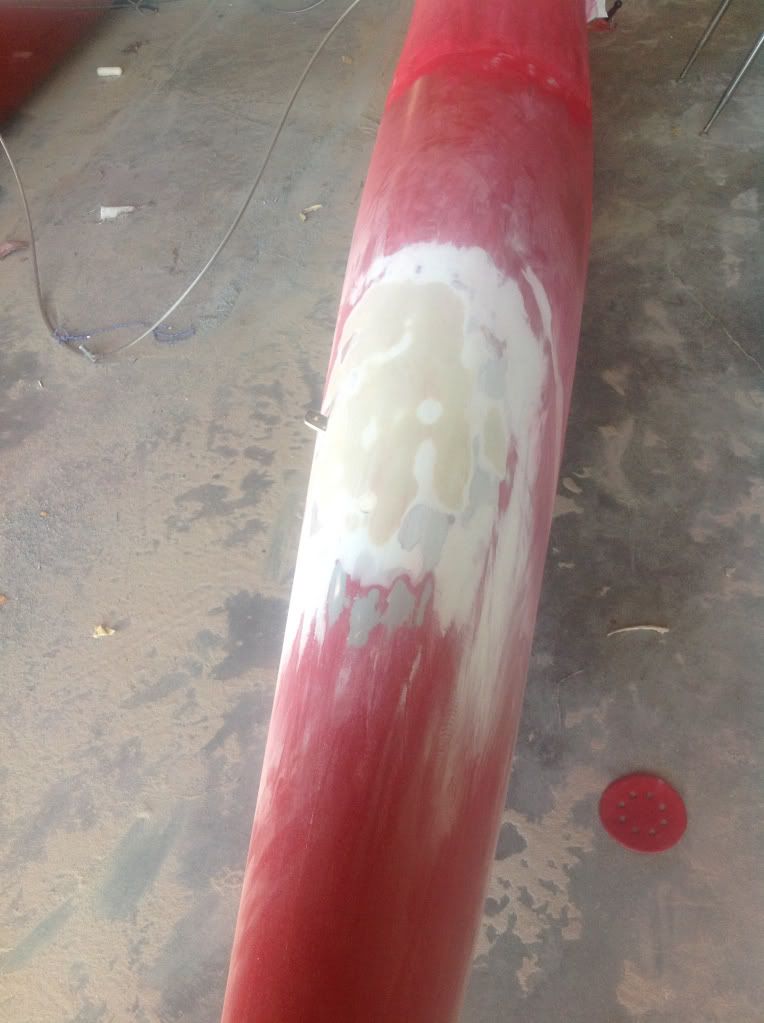
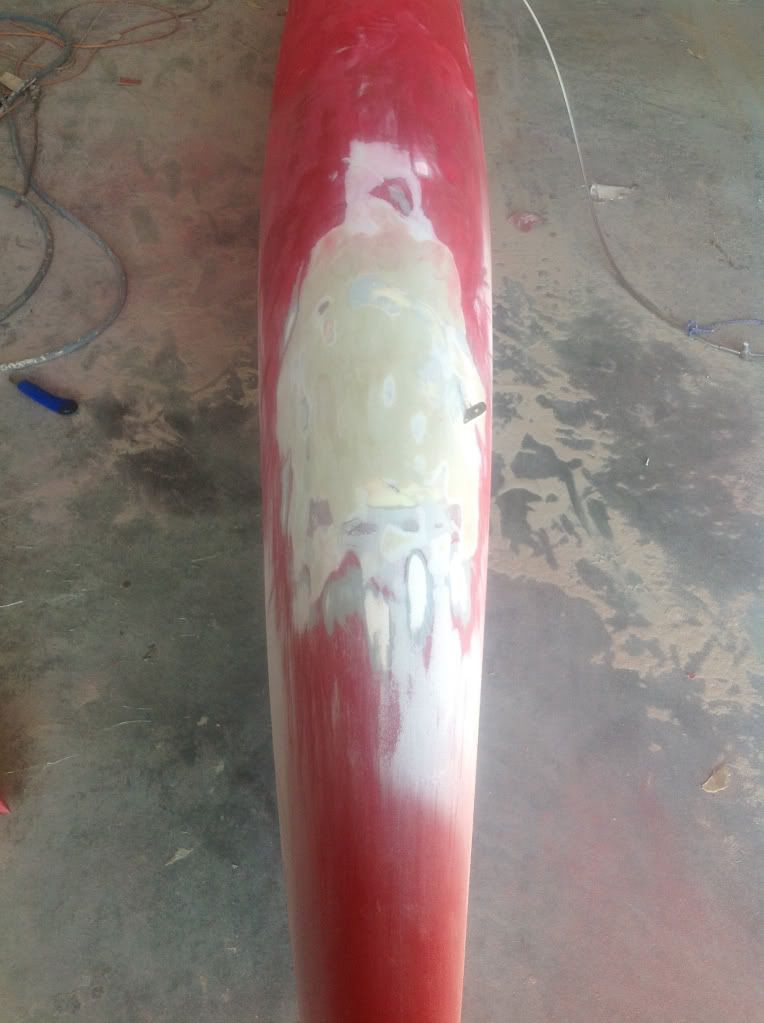
Unfortunately I found a small area of delamination on one of the hulls today as well. There was a small wrinkle in the hull, it felt strong when I knocked on it with my knuckle. I got out the sander and removed the top coat to see what was going on in there and then I could feel the soft spot. It's pretty small, a little bigger than a quarter. I decided to fix it the same way I've done on some old Hobie decks using an epoxy product called Git-Rot. I drilled a few small holes in the outer layer of glass for injection points, and used a syringe to inject the Git-Rot. I had a little problem with seepage from the holes, but think I got it stopped so the Git-Rot can set up in there. We will see tomorrow when I go and check on it.....
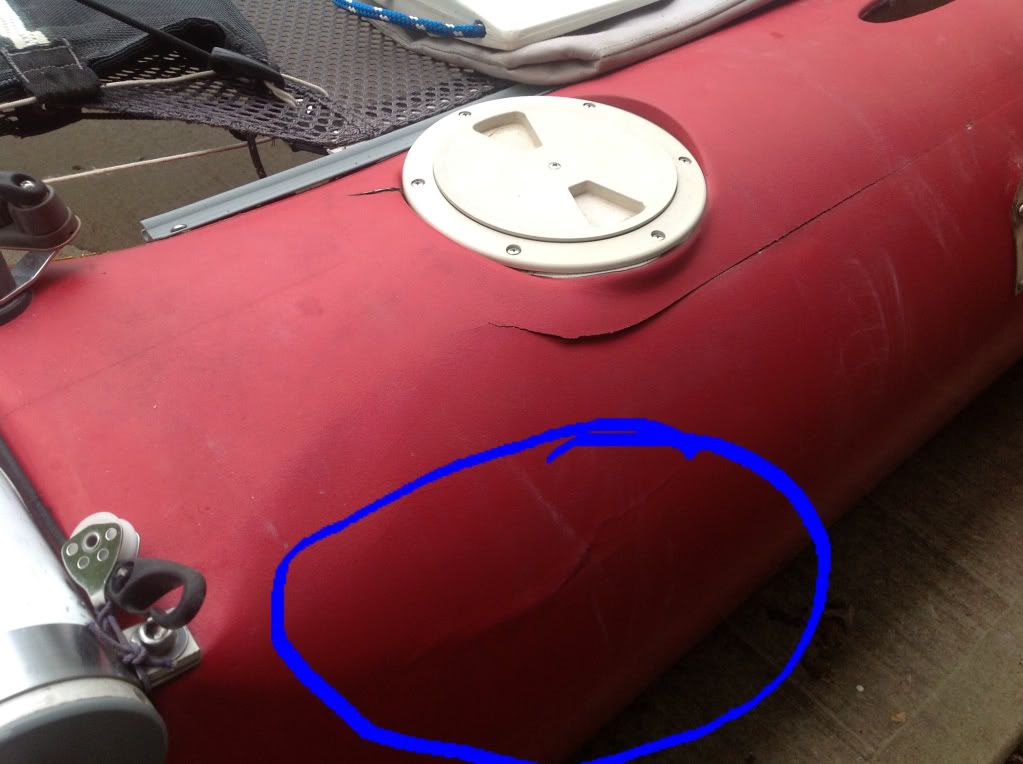
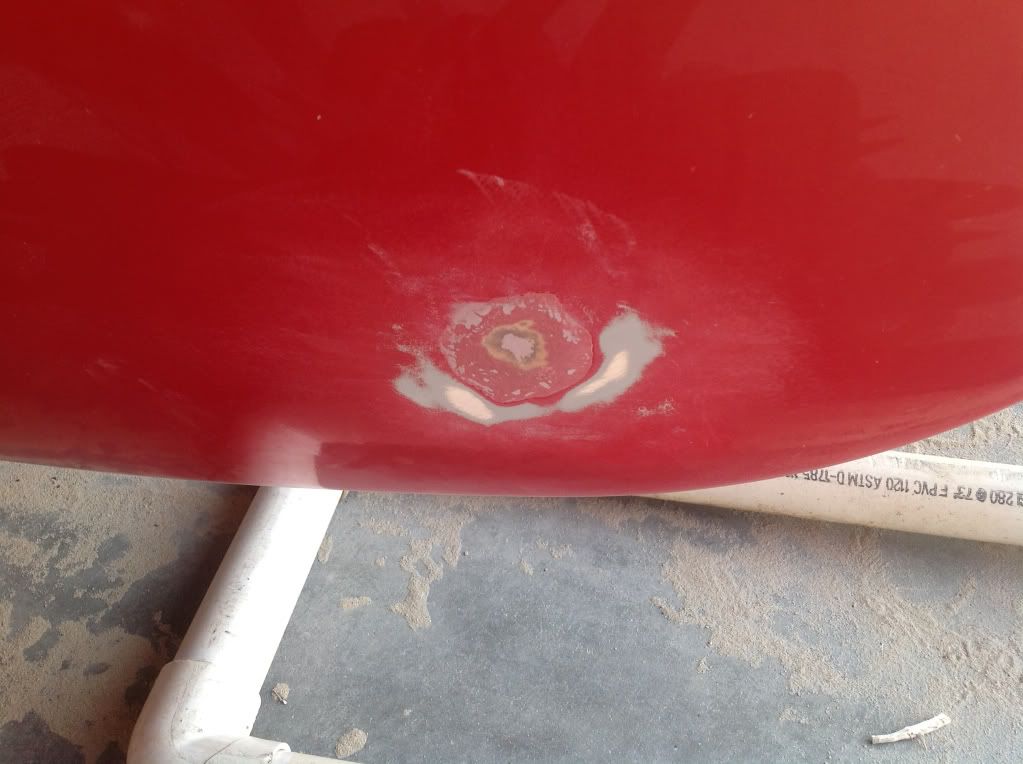
Went back this morning to sand down the bondo I put on yesterday. I think it turned out pretty well. Also faired in a spot where a lawn mower threw a rock at the boat.
Got the new bulkheads and lids in from Aquarius yesterday and installed today. Really nice and Tom got them out to me quick, THANKS! I sanded the inside of the hull with 80 grit to get a good surface to bond to, did the same to the edges of the new composite bulkheads. The tangs use 3 bolts to fasten to the bulkhead, Tom marked the locations on the new ones for me. I drilled the middle hole out, installed a bolt, and fit everything up. I got what looked like a good fit but wasn't in the same location as the old bulkheads. I didn't think to take measurements or pictures of this before removal, I photographed everything but haha. I made a quick call to Tom, he did some thinking and got back to me saying to position The tang raked back 30 degrees towards the beams. I tried some different positions and think I got it right. It's probably not a coincidence that the spot that looks right is right about where the old bulkheads used to be. After getting the bulkheads positioned right I glassed them in with 4 pieces of 6 oz material and epoxy on each corner. I used a squeegee to press the material into the corners and a roller to wet out everything. Because of the South Carolina heat I used the extra slow hardener from West, it was 100 degrees today.
Last edited by Mac M on July 8th, 2012, 7:02 pm, edited 1 time in total.
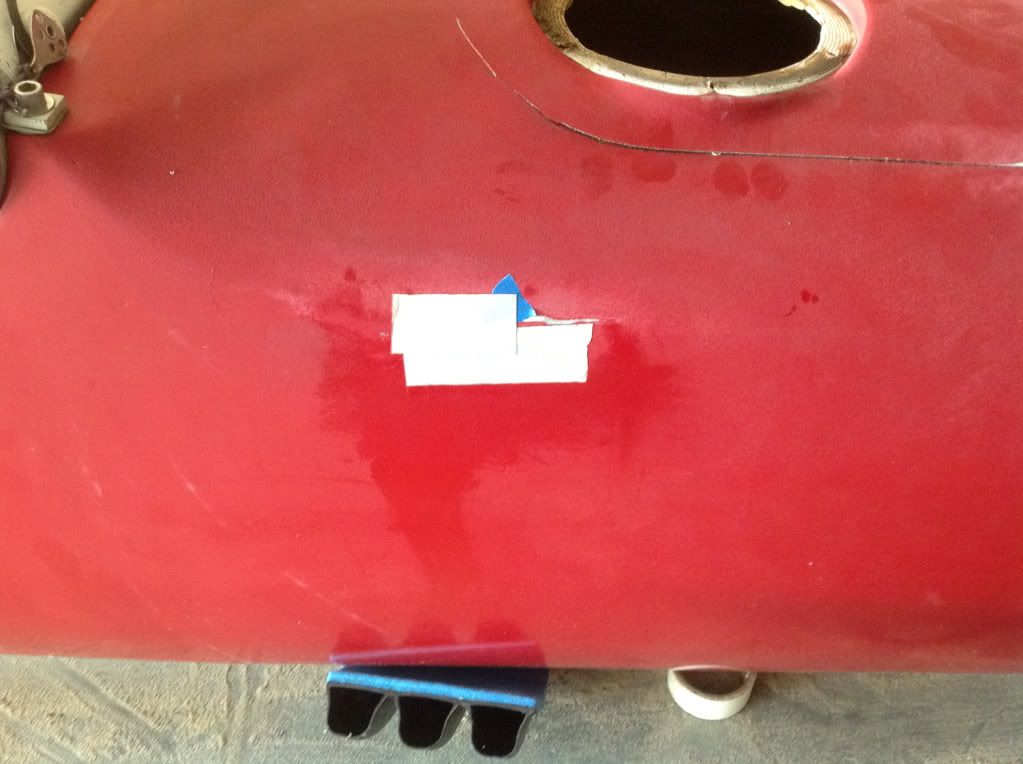
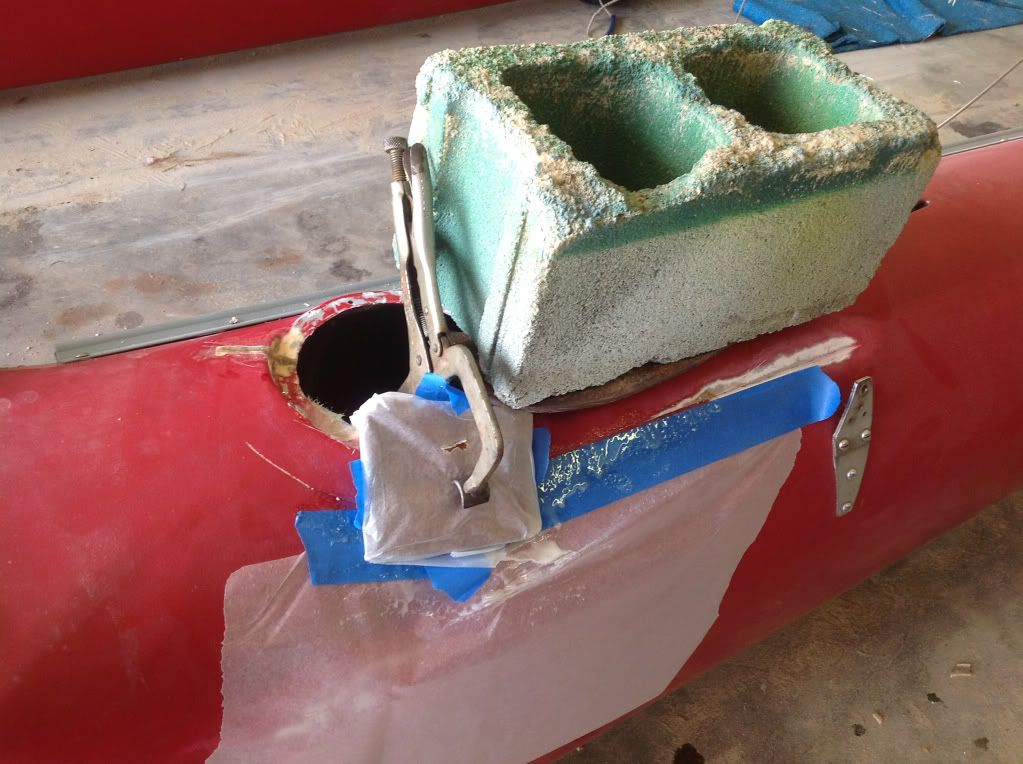
I also had one of the deck lids that runs from the front access port almost to the rear beam that was coming loose near the port. I chose not to take the whole lid off instead I thickened some epoxy and pryed the lid up as best as I could and forced some in between the lid and hull. I then used a clamp, 2 pieces of wood wrapped in wax paper, and a cinder block to hold the lid down until everything sets up.
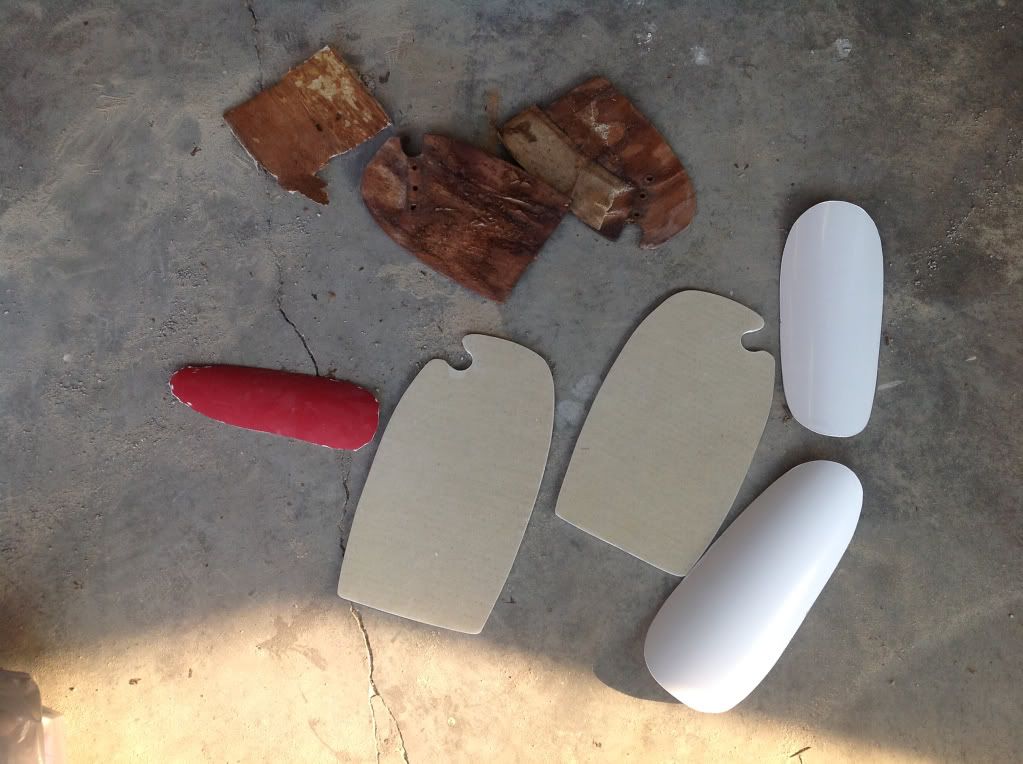
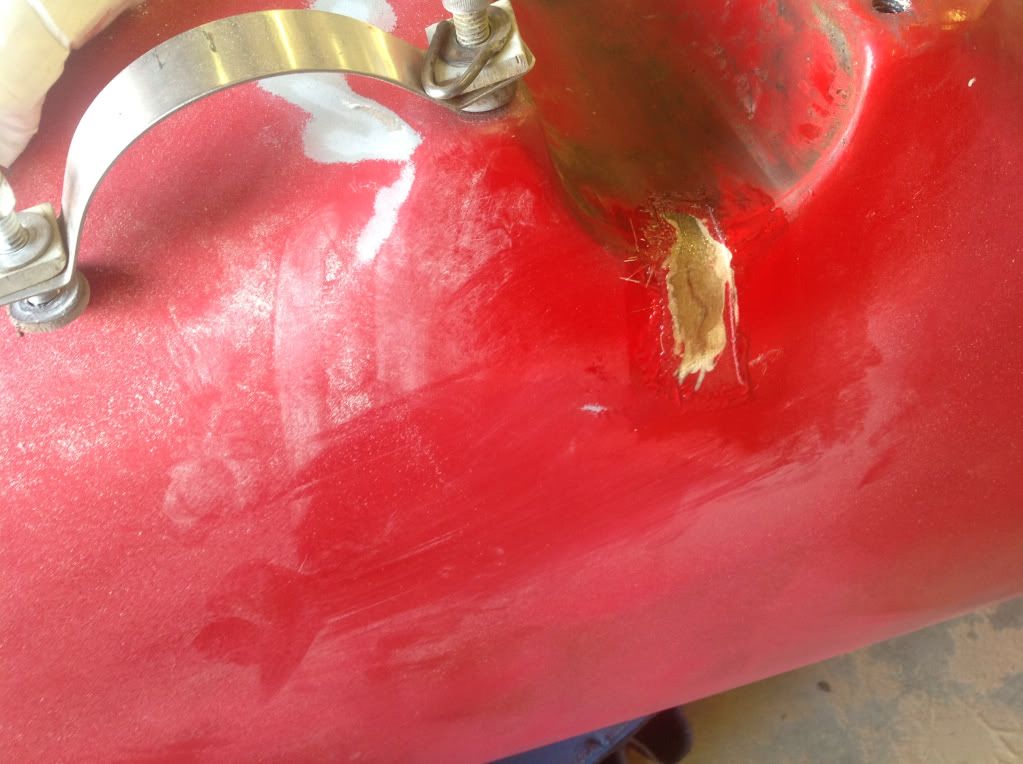
I also had some cracks where the access hatches go. I removed all the old dingy hatches and ordered new ones. I used my dremel tool to grind out the cracks and glassed them in.
I must have put about 6 strips of fiberglass underneath the port cover rim to beef it up. I think it would be a good idea for you to do the same since it is cracked. Did you get my PM?
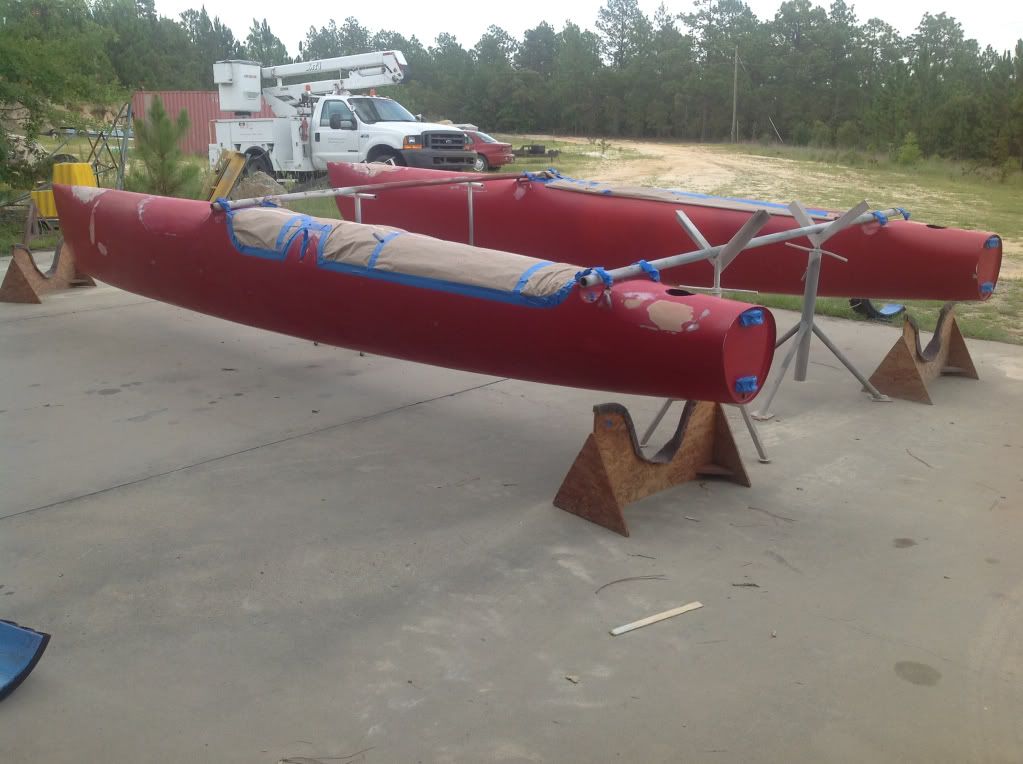
After lots of sanding I'm pretty happy with how the repairs have turned out. I started fairing with 60 grit and an air orbital sander until I got things smooth and fairly even. I then went down to 120 with an electric palm sander until things were nice looking. Finally I took a long flat flexible hand sander I got from O'Riellys with 220 on it and hand sanded everything following the lines of the boat.
I've about decided that I'm going to install a soft deck between the beams so I'll need to do some sanding there to knock the non skid down. I've already sanded the non skid off that was in front of and behind the beams.
I plan on spraying the boat this coming weekend so I need to finish sanding the hulls so everything is nice and ready for paint.
Very impressive! You are really turning her back into a real looker. What colors are you going to go with? Also what type of paint are you going to use?
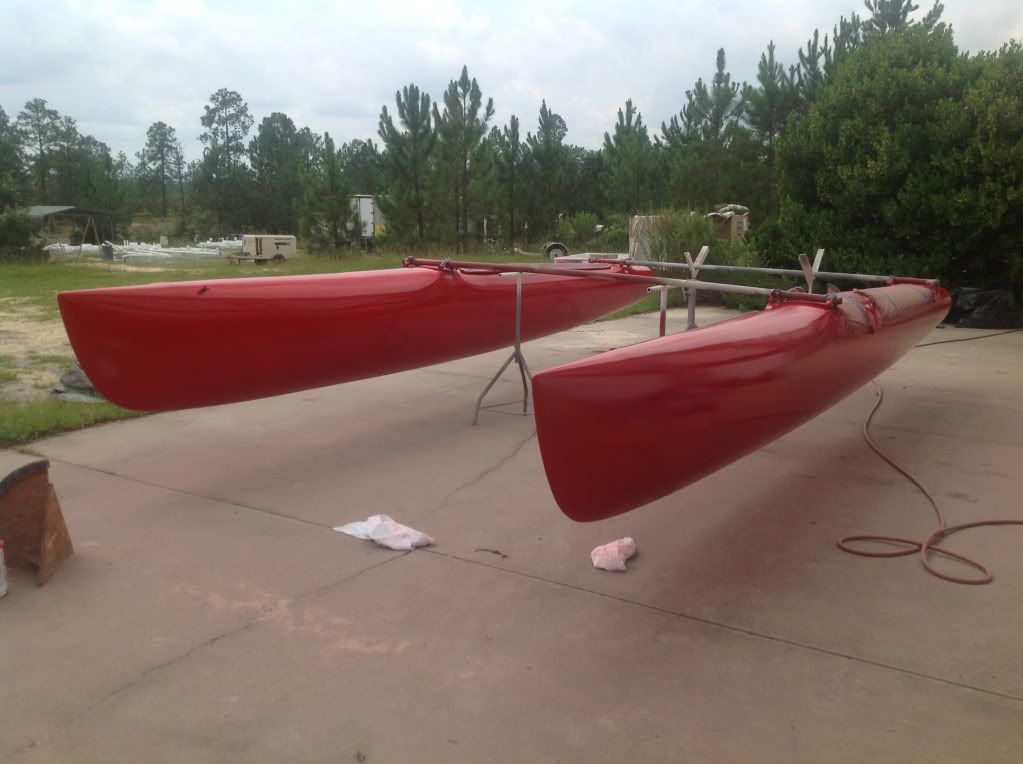
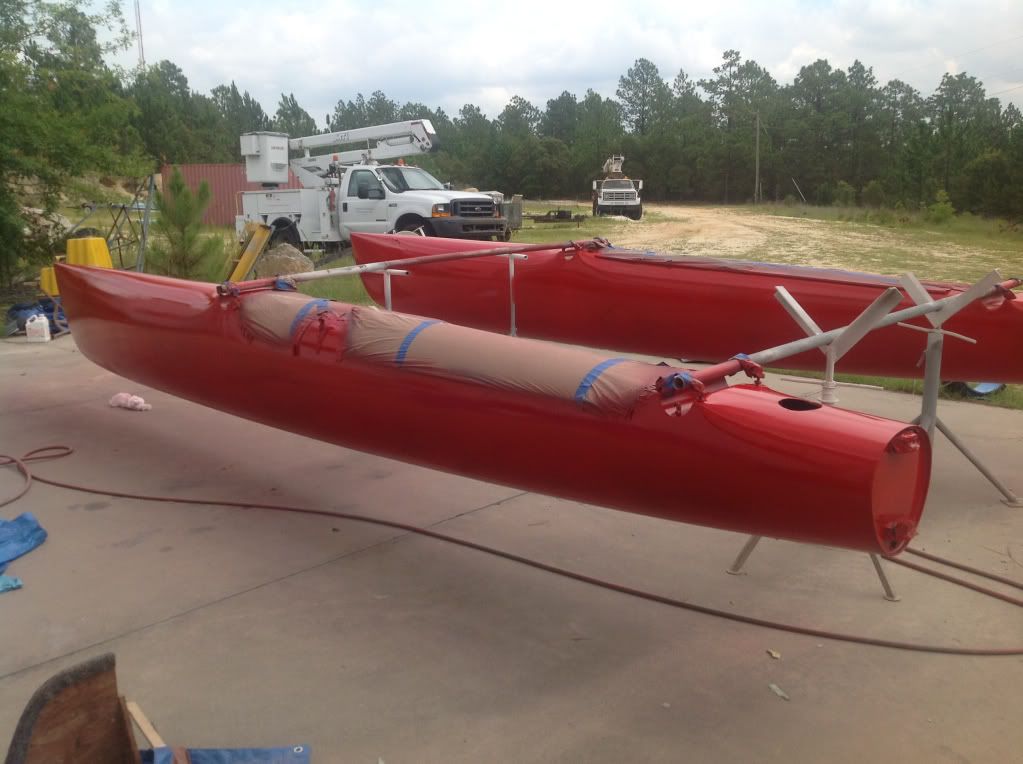
Thanks, it's been a lot of work crammed in a short period of time. I'm painting it fire red, it will be a good bit brighter than the red it is now. I'm using a two part polyurethane paint called Gulf States, it's just like DuPont's Imron just cheaper. I hope to have it sprayed this weekend. I'm ready to get it on the water!!!
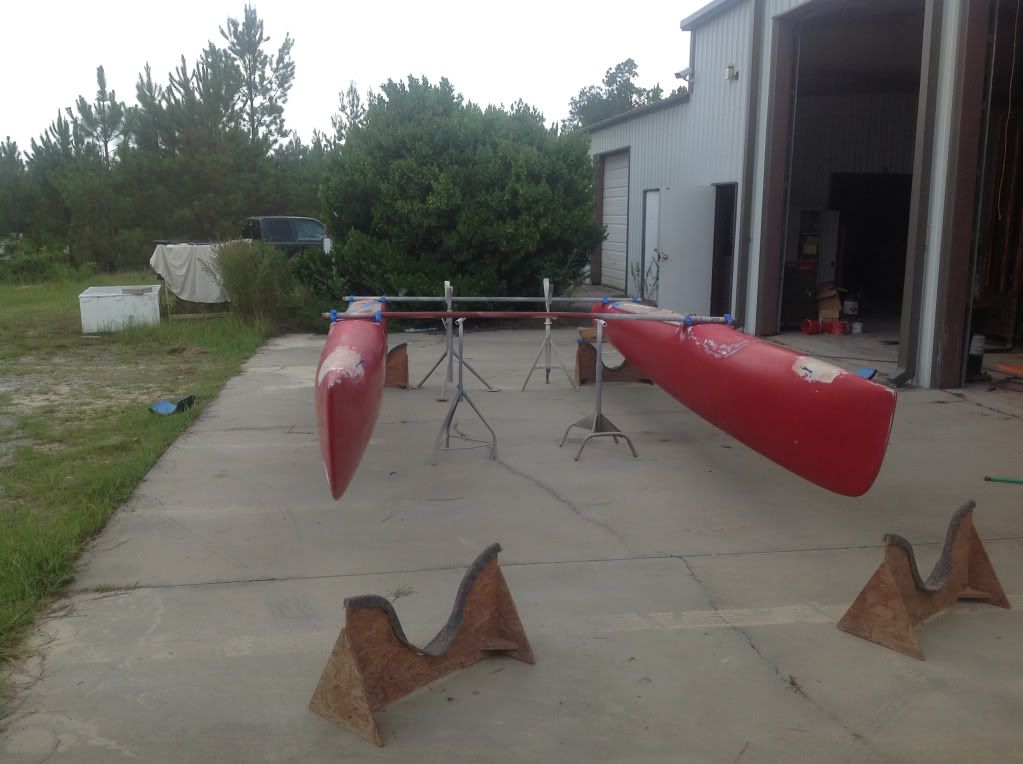
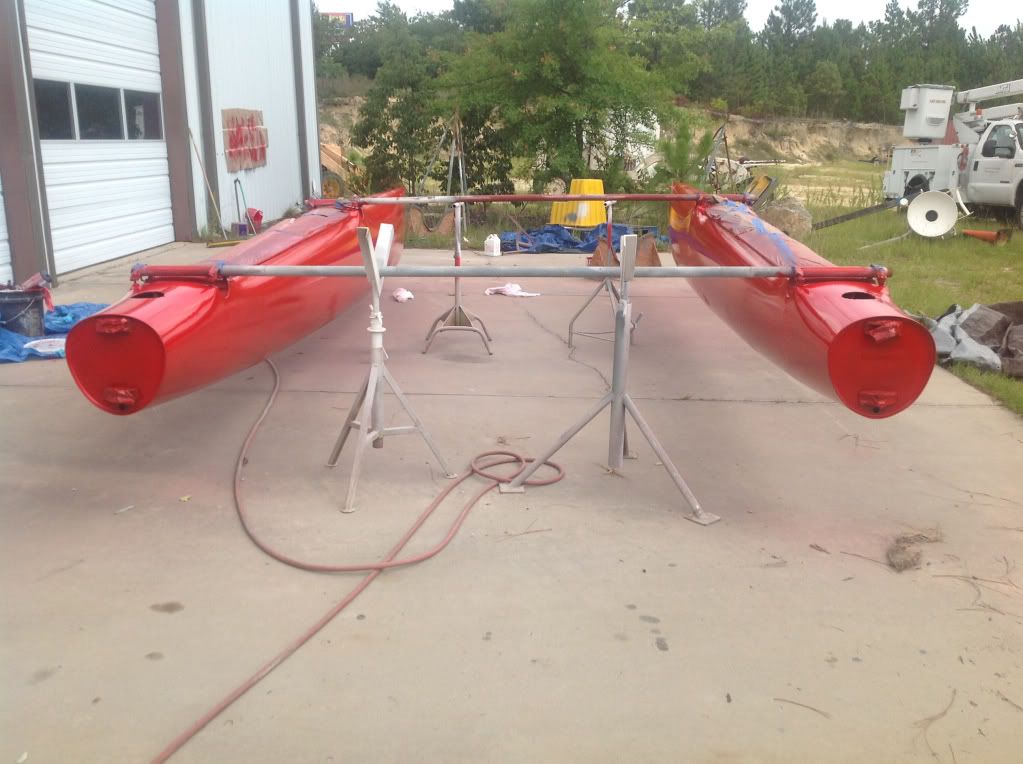
I was going to spray the boat with the beams on but ended up taking them off. There was a small crack under one of the front one that I kept pretending I didn't see. I was nervous that the bolts wouldn't come out right or worse that I would find some major issue under them. Fortunately everything was well with the saddles. The locator pins were in great shape also. All but 2 of the bolts came out easily, I took my time with the others and got them out fine.
The beams are really dirty so I'll clean them up, not sure what with yet. The saddles need some cleaning as well. I was fortunate to have gotten some stands with the boat for working on it, they held the hulls great without the beams on. Yesterday I sanded the hulls down with 80 grit and an air sander to knock the gloss off from the old paint. I sprayed a small test spot to see how the finishe would look and wasn't happy with how it turned out, there was a little too much orange peel in it. I decided to do some more sanding and to prime the hulls before top coating. I also bought a HVLP spray gun today, I was using a conventional gun that we use at work. Before stopping for the day I sanded the hulls down again, this time with 220. I hope to get them primed tomorrow and top coated Friday.
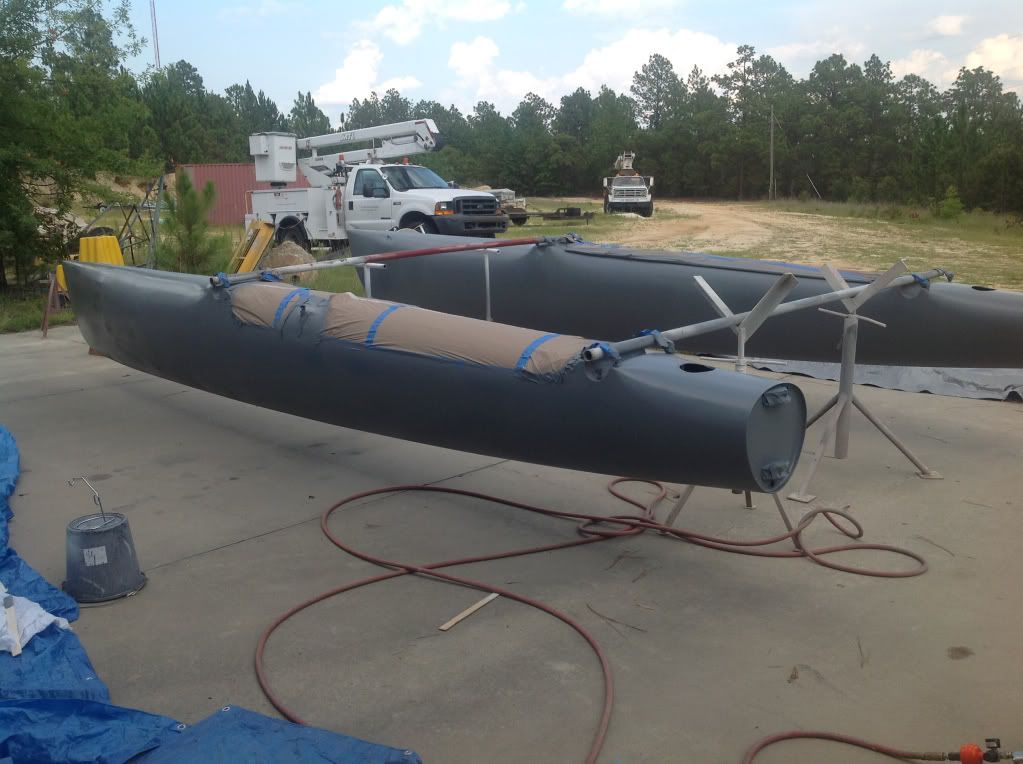
Got the primer on today. I found a few pin holes where I did the fairing so I'll fix those tomorrow and shoot another coat of primer. I can also see some sanding scratches through the primer, hopefully the next coat will cover those.
Got the second coat of primer on yesterday. Before shooting it I skimmed the pinholes and another place that needed a little attention with some glazing putty I picked up. It's thinner than the bondo I faired my repairs with and covered nicely, really easy to work with. I then sanded the hulls down with 400 grit paper, went over that with a red scotch Brite pad and finally wiped it down with mineral spirits.
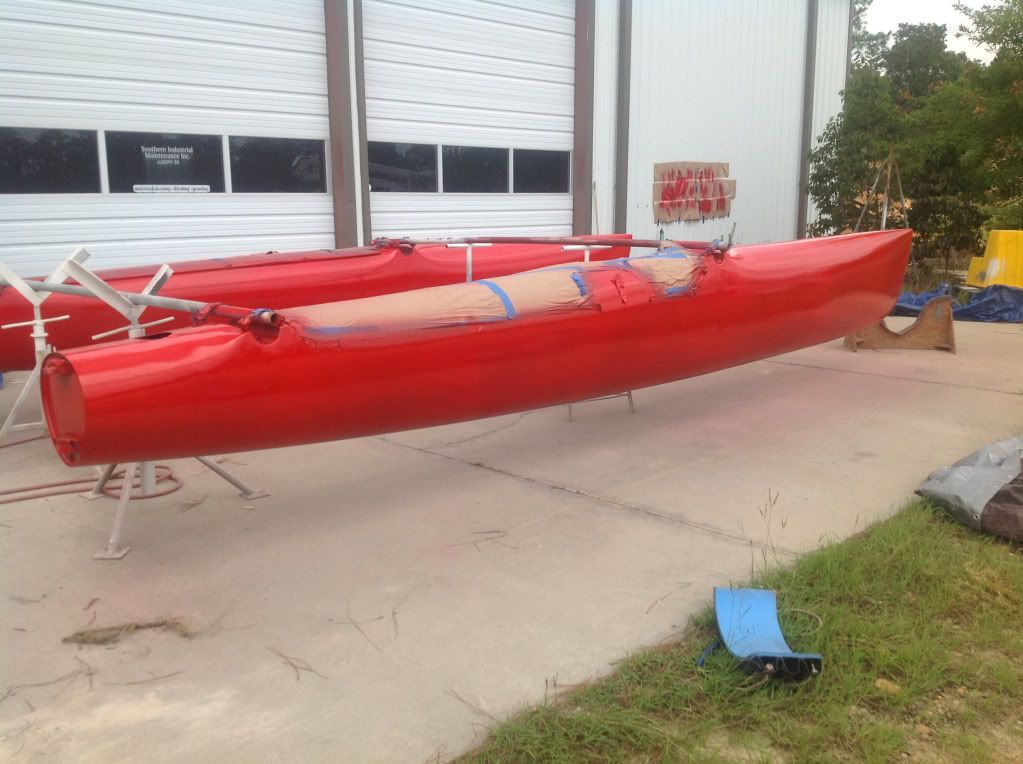
Came back today for the top coating. Before the first coat I scuffed the hulls with 320 grit paper (was out of 400), followed by red scotch Brite and finally a mineral spirits wipe down. The first coat didn't cover a swell as I'd hoped it would, but I had already figured I'd need at least two coats. Apparently red is a hard color to cover with. I waited about 4 hours and then shot a second coat. There are still dark spots showing through the paint, it looks like I'm going to have to put a third coat on tomorrow. There is some orange peel in the top coat that I'm not happy with, but it looks pretty good. I really thought I'd get a slicker finish than I did, not sure what I didn't wrong. I don't know if there is anything I can do to get it out at this point. The pictures I'm posting are of the first coat I believe, think I forgot to take some after the second coat.